Chicken Tortellini Pasta Salad

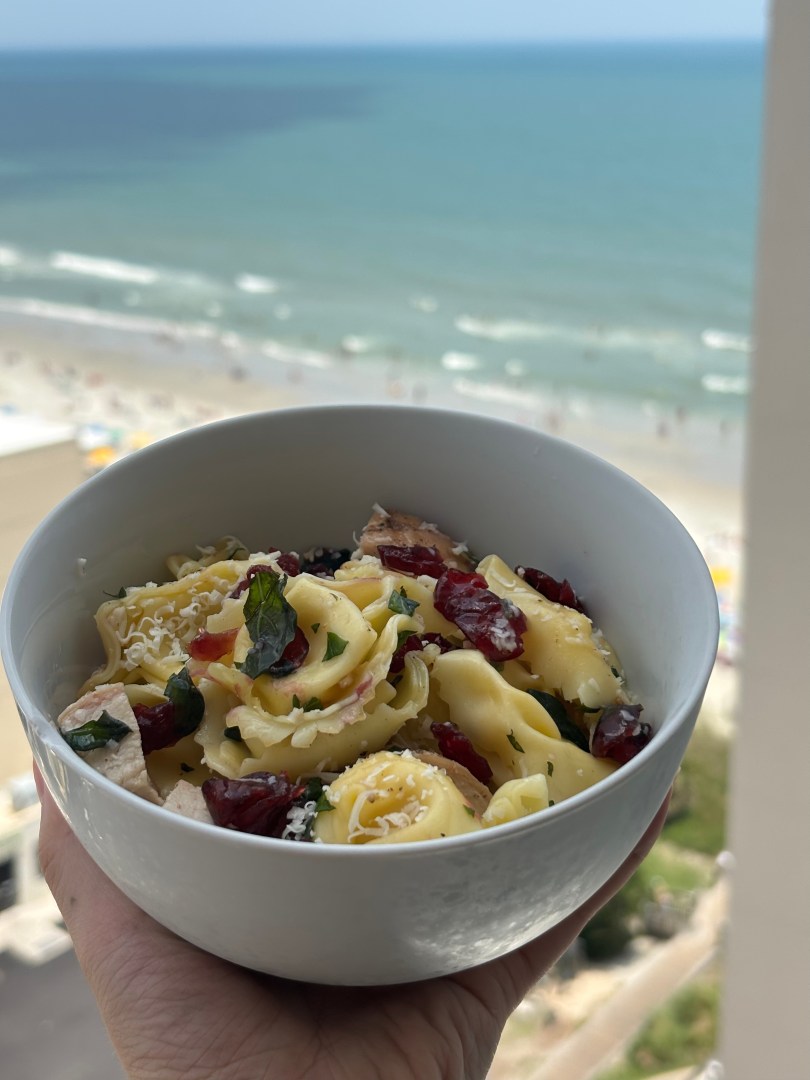
When I think summer, I think of the chicken tortellini pasta salad my mom made when I was growing up. If any of us had a busy few days or week ahead, I always looked forward to knowing this was in the fridge! Aside from the memories, what I love most about this recipe is that there really is no wrong way to make this!

Now if you’ve read any of my other recipe blogs, you know I’ll never make you read a novel to get to the recipe, so let’s get into it:

What You’ll Need

  • 1 Package (20 oz) of Cheese Tortellini
  • 2 Large Chicken Breasts
  • Dried Cherries or Cranberries (I use whichever we have in the pantry)
  • Fresh Chopped Basil (I use about 1/2 of a cup, but use more or less depending on your taste)
  • Grated Parmesan Cheese(measure with your heart)
  • Olive Oil
  • Salt
  • Pepper
  • Garlic Powder

First things first, decide which dish you’re going to assemble this in. I normally use a large tupperware container or baking dish with a lid to make it easier to put in the fridge and cut down on the number of dishes to clean up!

Bring a large pot of salted water to a low boil and cook your tortellini according to package instructions. I like to add a drizzle of olive oil so make sure they don’t stick together. Stir occasionally. Once cooked, drain, add to your dish with a healthy drizzle of olive oil, and stir to coat the tortellini in the oil.

While your tortellini cooks, season your chicken. I used salt, pepper, and garlic powder. I grilled my chicken until it reached an internal temperature of 165°. If you’re baking your chicken in the oven, preheat it to 425° and bake for 15-20 minutes. Once done, dice it up and add to your dish with the pasta. Stir to combine.

Next you’ll want to chop up your basil. This is really one of those times that your personal taste matters as far as how finely you want to chop. I do a rough chop since that’s how my mom always made it, and I think it helps you get a bit of basil in every bite.

I add my dried cherries (or cranberries) with the basil since all that involves is opening the container they’re in. I used almost all of an 8 oz. bag. I also like to add another drizzle of olive oil. This is the only “dressing” your pasta salad will have, but trust me when I say it’s still so good!

Say it with me now: add to your dish and stir.

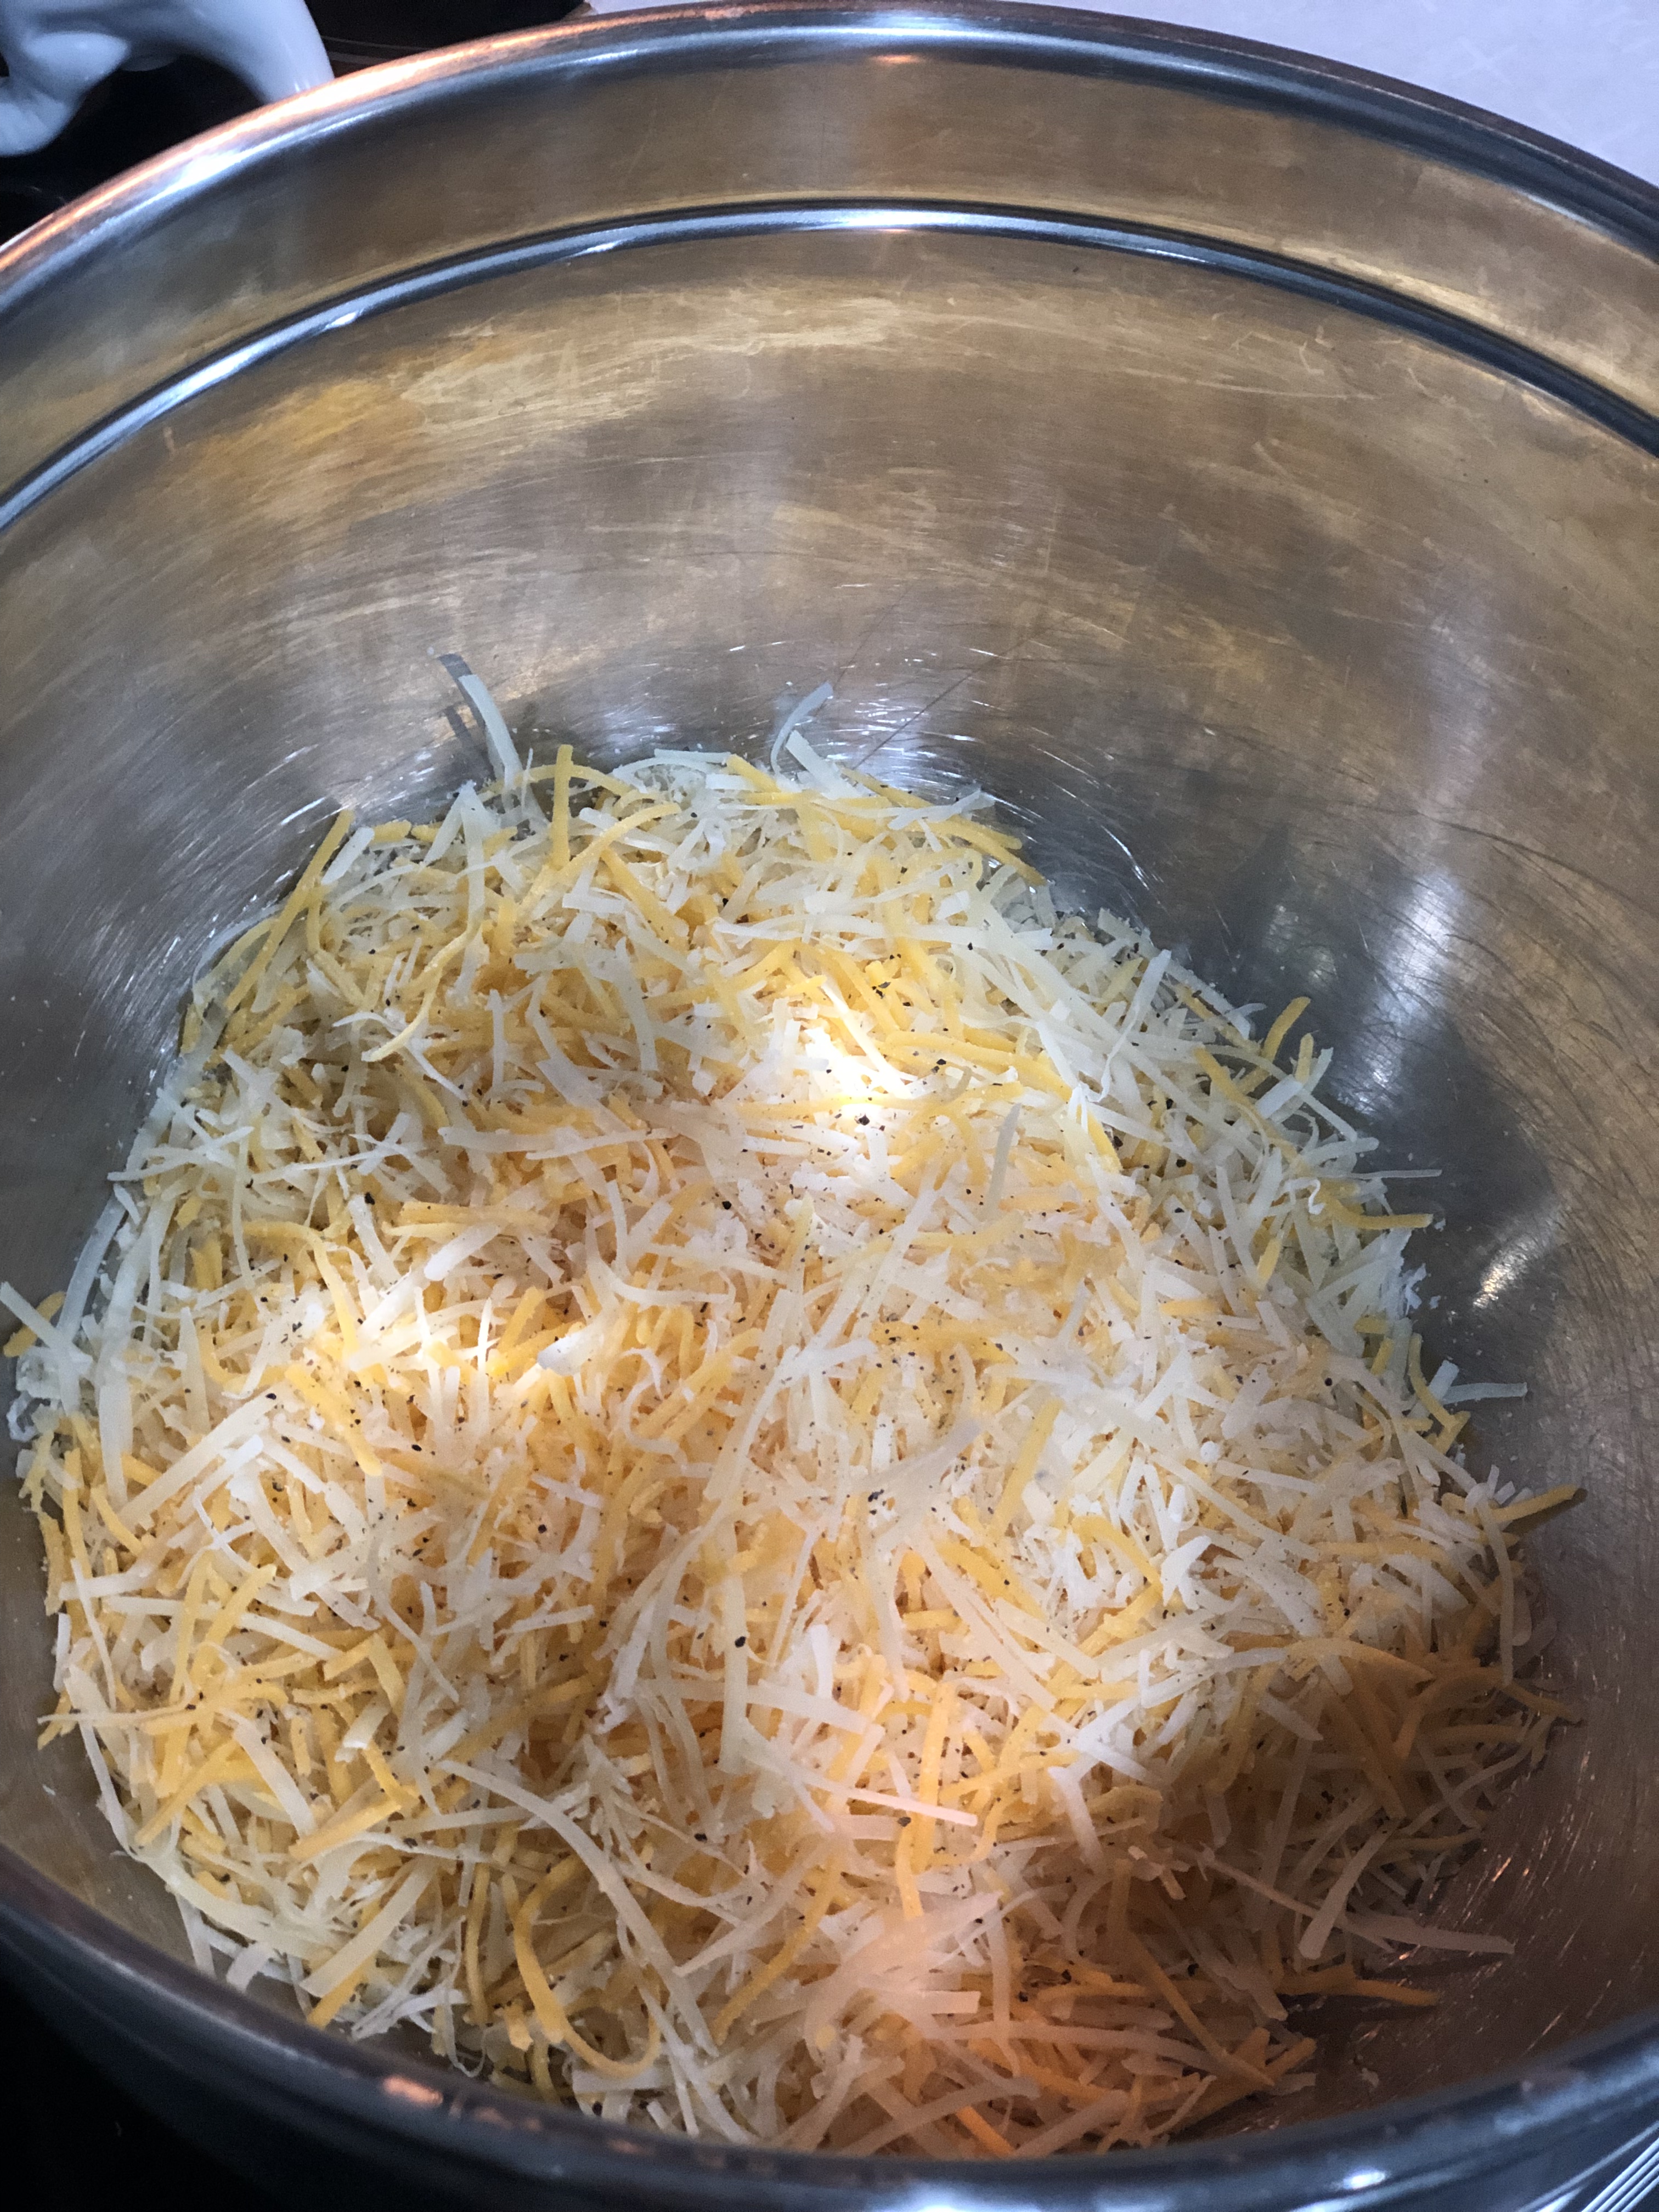
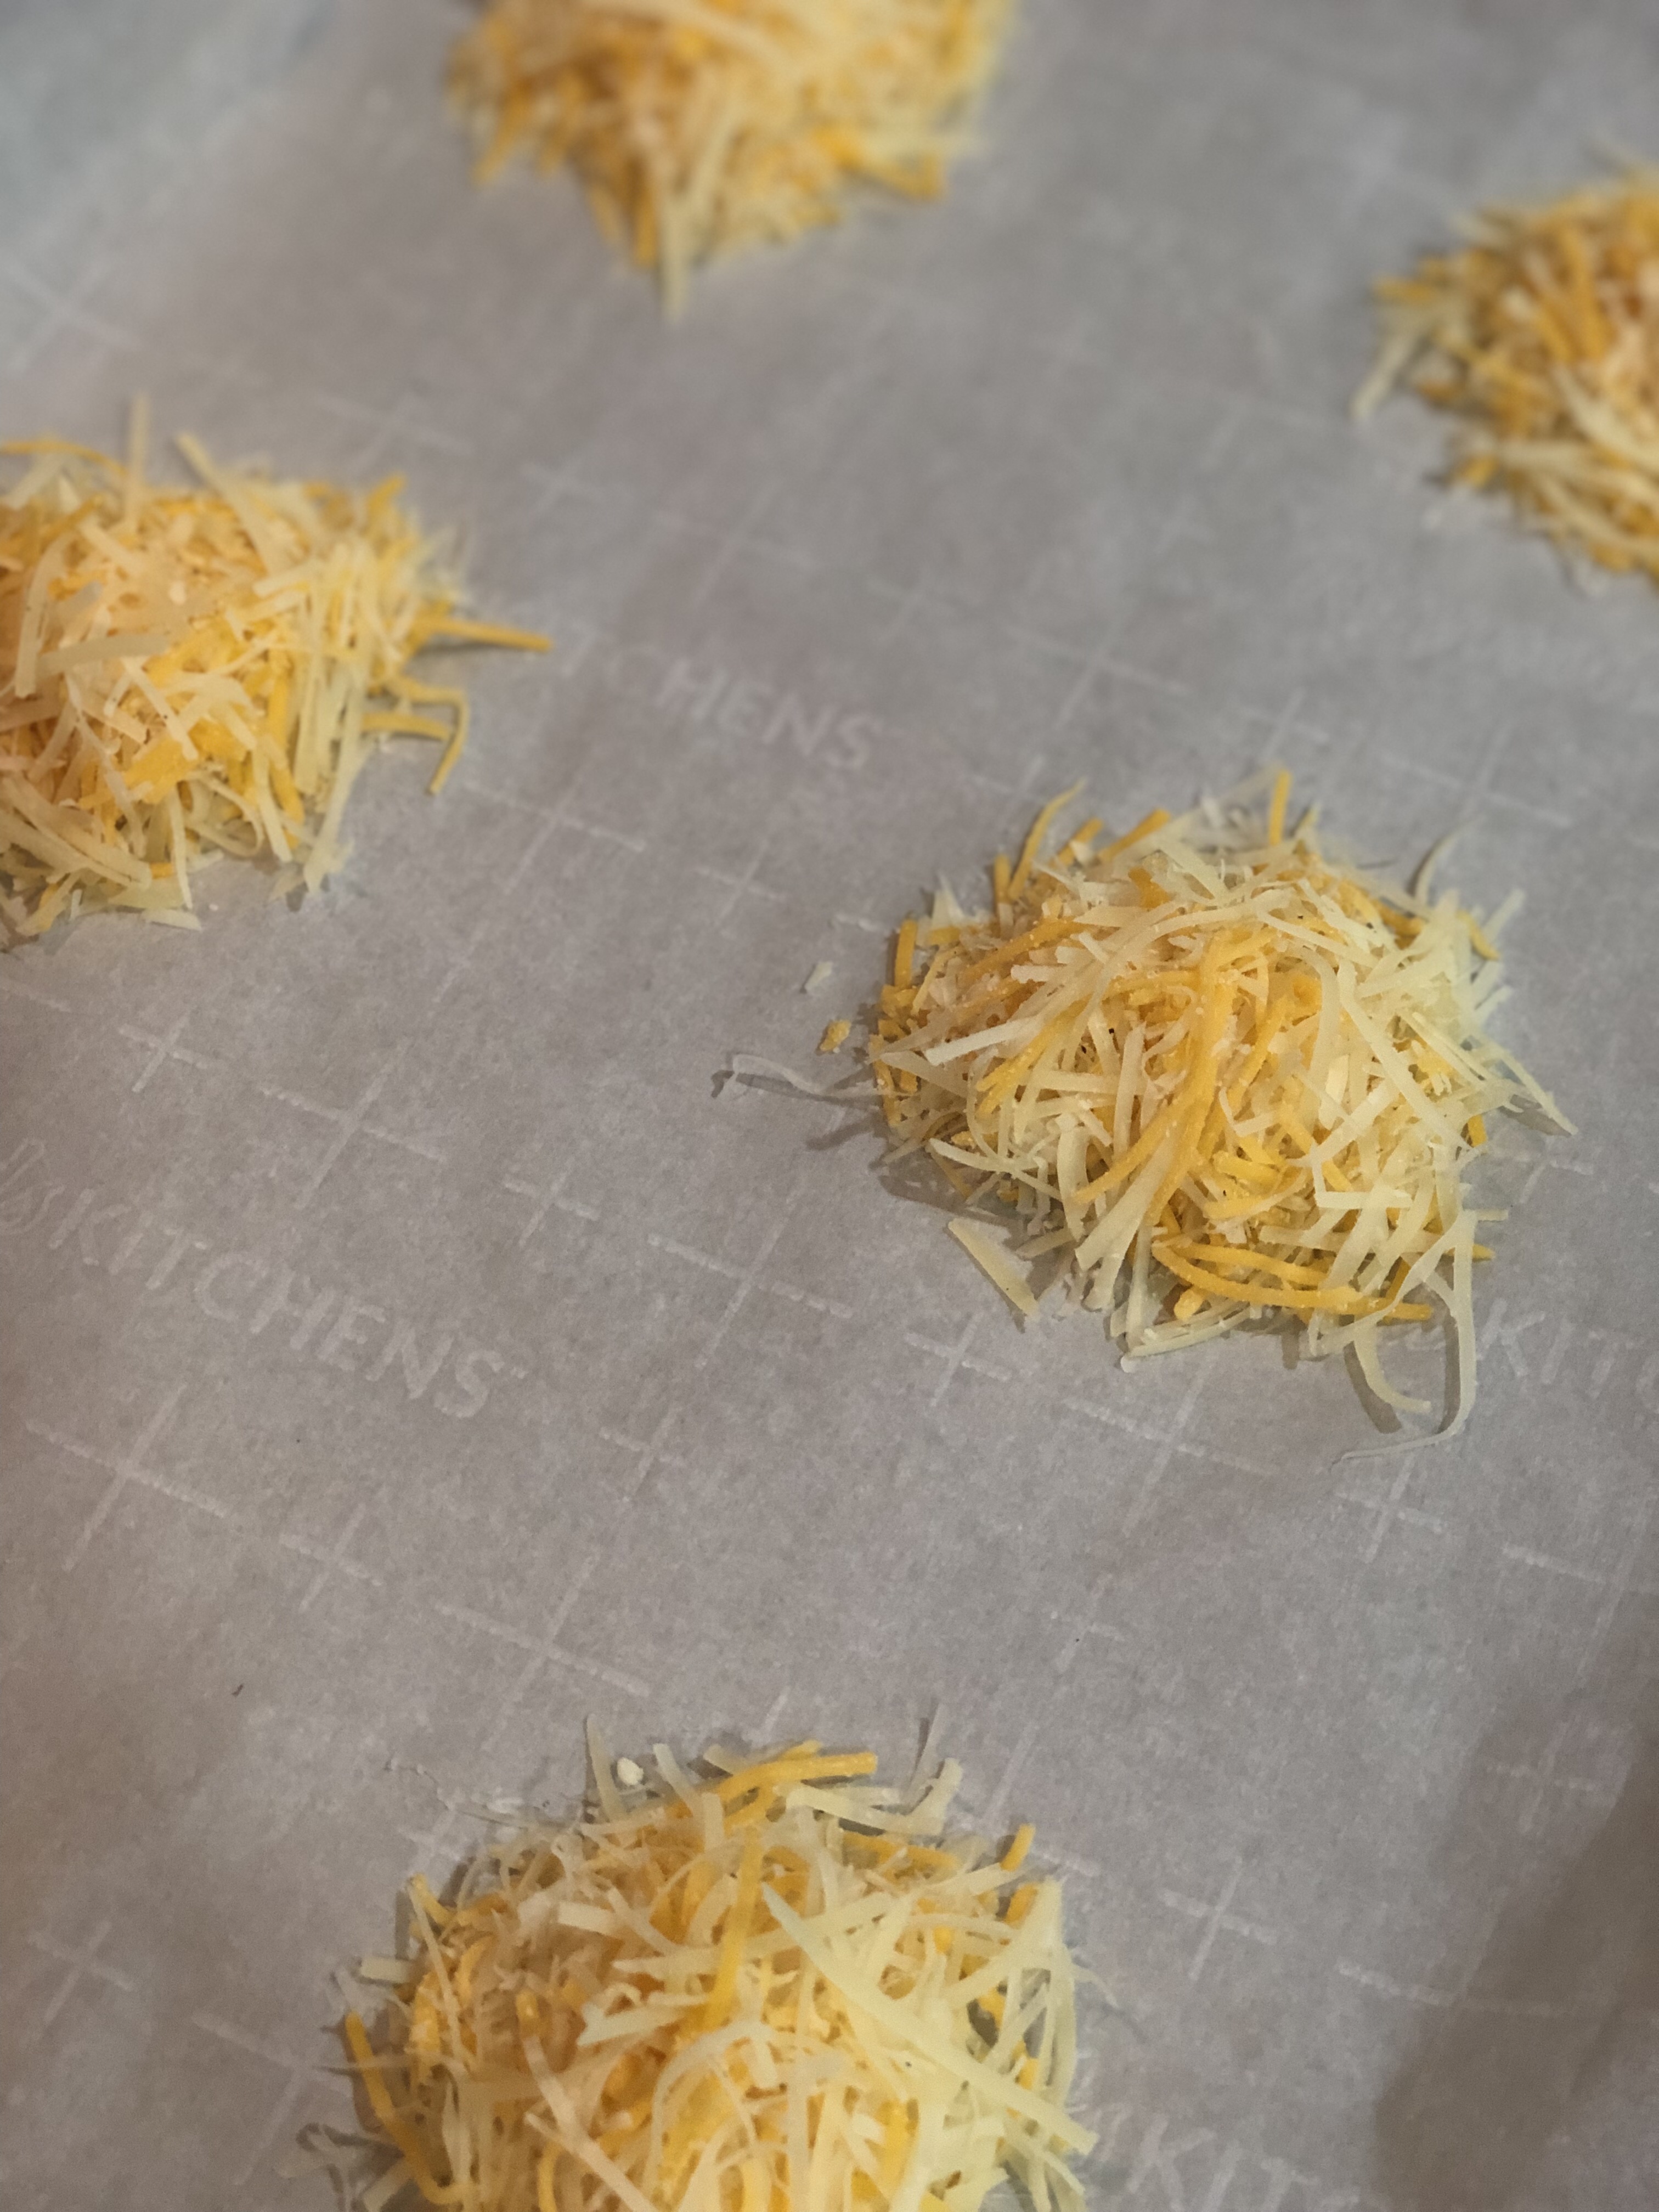
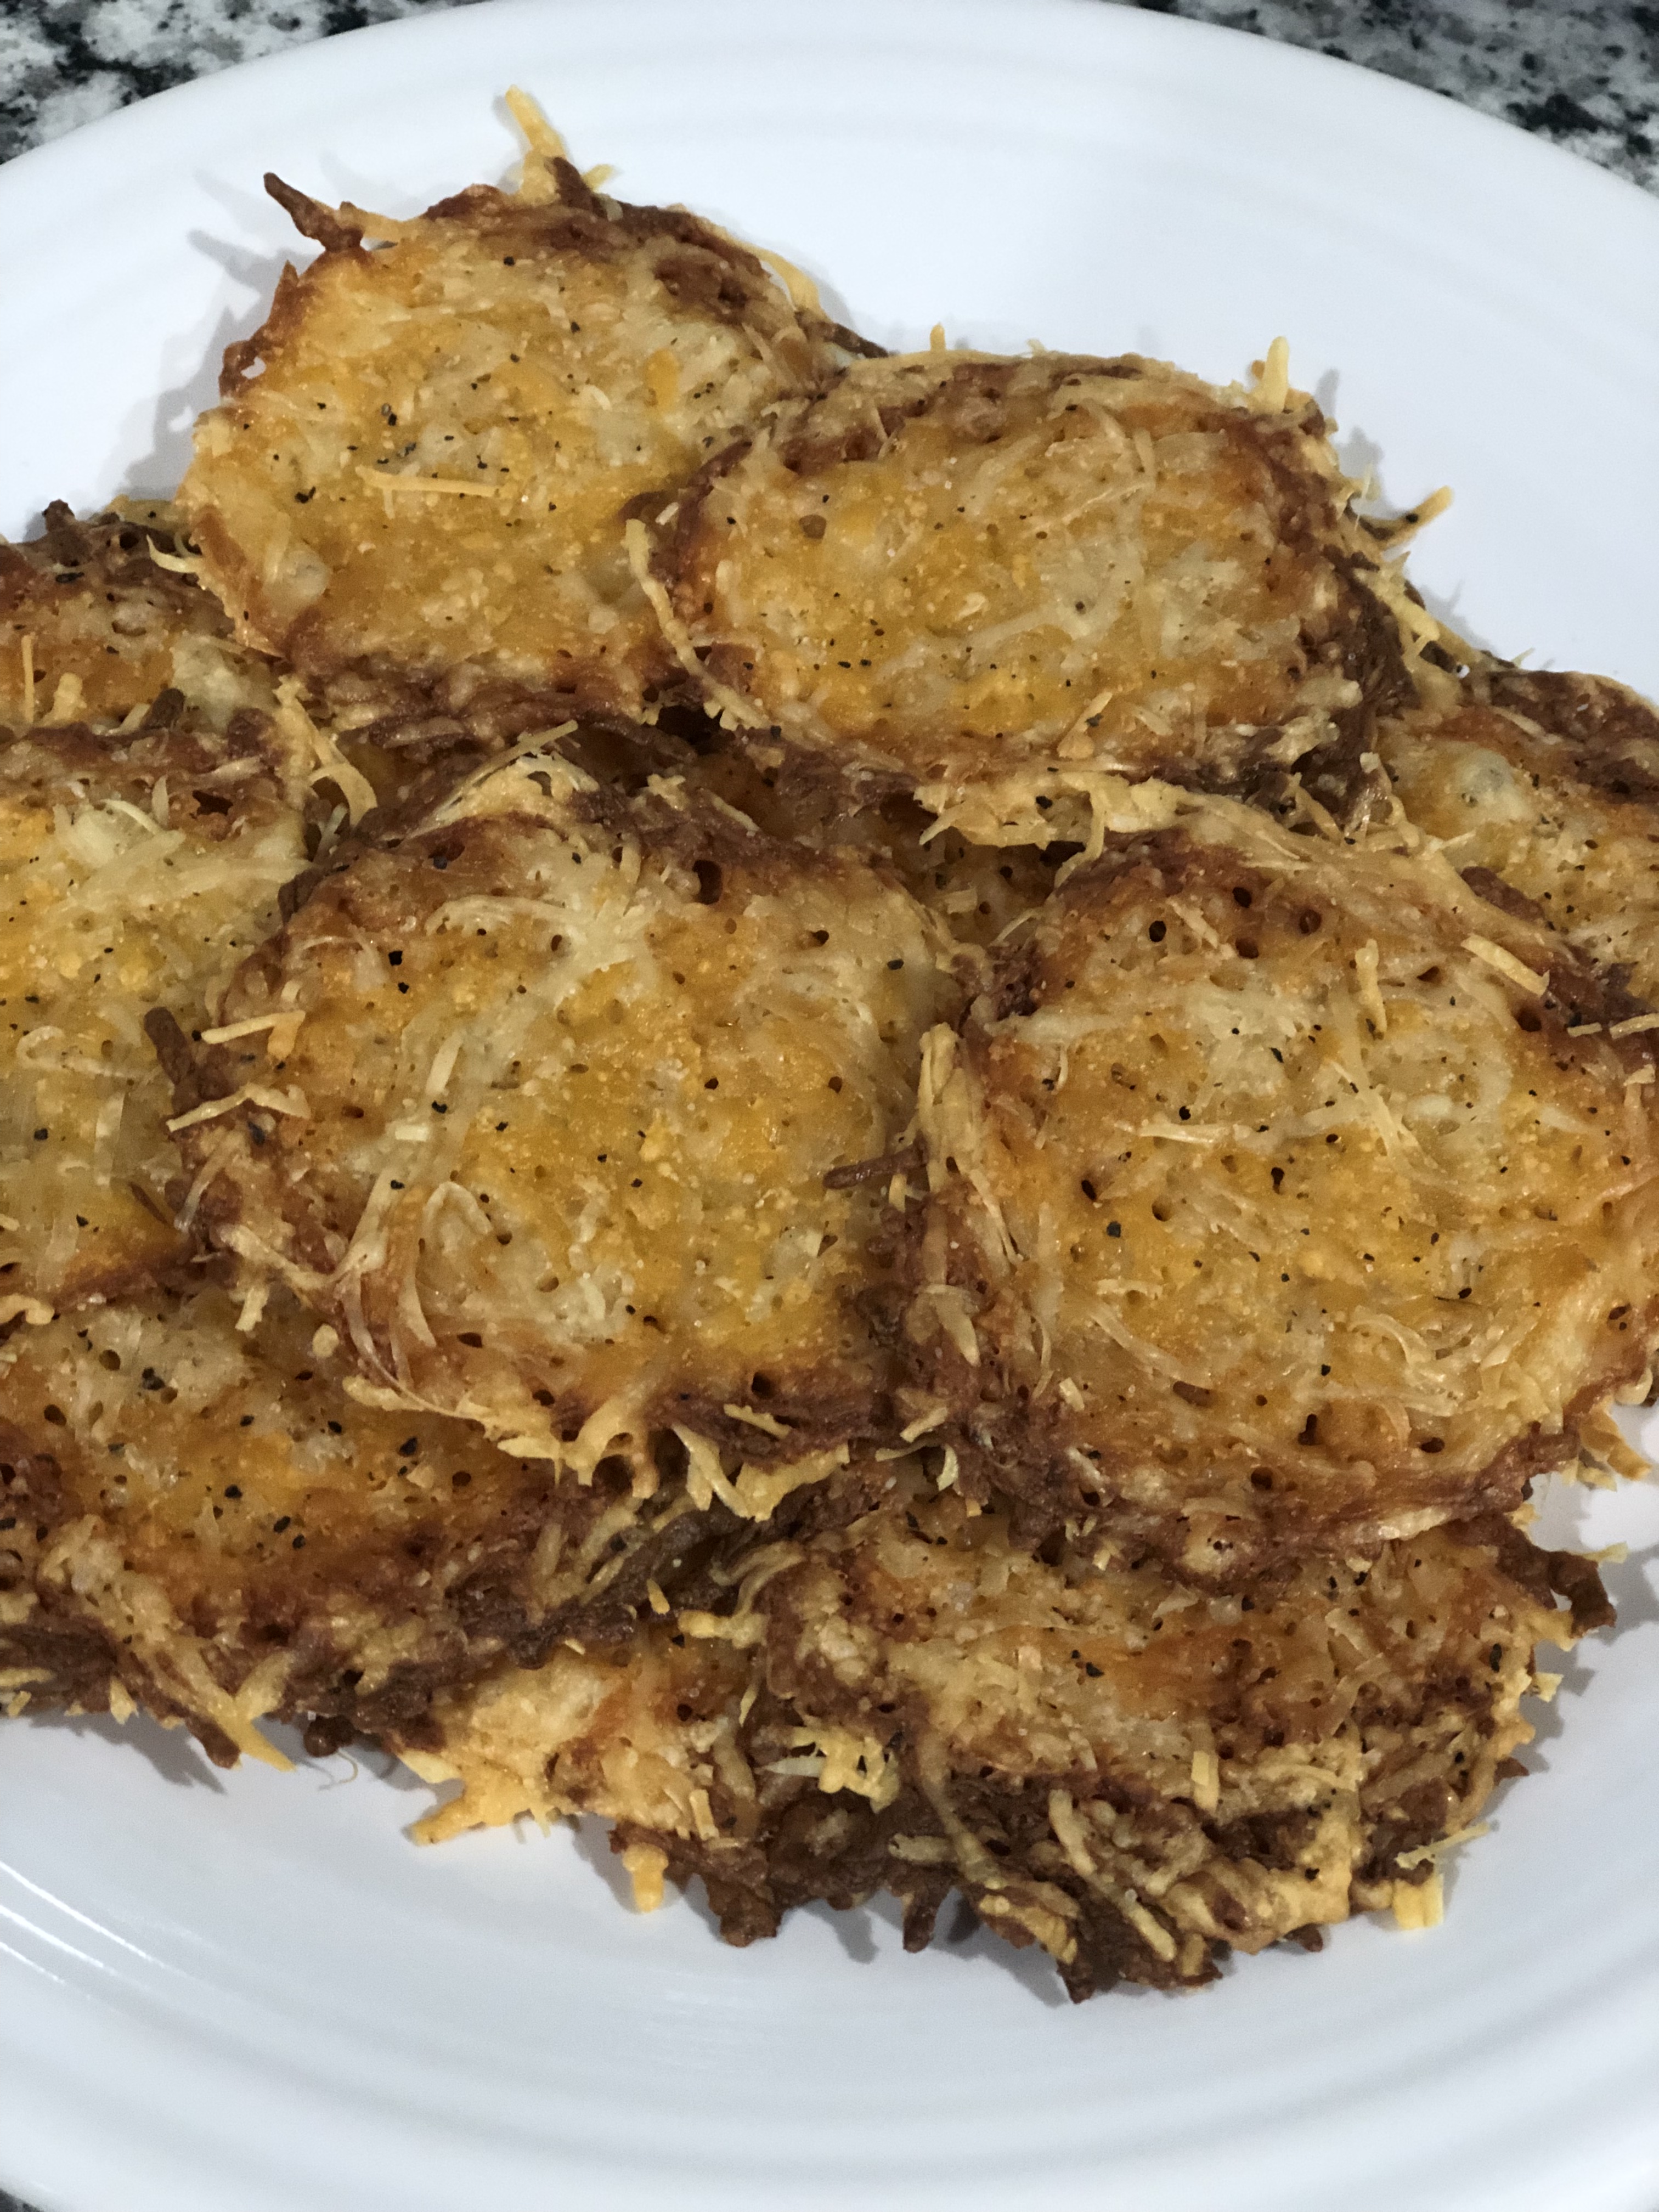
This last ingredient is my boys’ favorite; the parmesan cheese! I grated probably 3/4 of a cup, but I’m a firm believer that cheese is something you measure with your heart. You can also buy the kind that’s already grated to make things easier or if you don’t have a cheese grater.

And that’s it!

To me, this is what summer tastes like. Add in some fruit and chips or pretzels for a little crunch, and you’re set! The great thing about this is that it really does get better the longer it sets. I’ve never had a batch last longer than a 2-3 days. You can also use this recipe as a starting place to make a huge batch to take to your next get together!

Where would be your ideal place to eat this this summer?

XOXO,
Leah

No Bake Energy Bites

With school in full swing, it’s even more important that I have quick and nutritious things on hand for Kaz!

We love granola in our house and don’t discriminate on the form; bars, bites, baked, no bakes, etc. They’re recipes I can feel good about giving Kaz, and he loves the taste. If you have littles, you know how big of a balancing act this can be.

Not being one for huge long intros to get into a recipe, here’s my favorite, tired and true, one for No Bake Energy Bites (also good if you’re a nursing mama)!

What You’ll Need

  • 2 Cups of Rolled Oats
  • 1 Cup of Peanut Butter 
  • 1/2 Cup of Honey
  • 1/2 Cup of Ground Flax Seeds
  • 1/2 teaspoon of Salt
  • 1/2 teaspoon of Vanilla Extract
  • Add Ins of Choice (I typically use about 1/2 cup of chocolate chips)
  • Parchment Paper
  • A Cookie Sheet

First you’ll combine your peanut butter, honey, salt, and vanilla extract until well combined. If you’re not a a fan of peanut butter, you can substitute your favorite nut butter. Agave can be used in place of the honey. I’ve found that maple syrup doesn’t hold the bites together quite as well since it’s not quite as thick.

Add your rolled oats, ground flax seeds, and any add ins you’ve chosen. Mix until everything is well combined.

Prepare a baking sheet by lining it with parchment paper.

Roll balls of your oat mixture to your desired size. Mine are normally between one and two inches. If you’re wanting something more of a one bite size, stick to keeping your bites closer to one inch.

Sometimes when I don’t want to roll them all out, I’ll press the mixture on my prepared baking sheet and cut them into granola bars.

These can be stored in an air tight container in the fridge for about two weeks. They normally don’t last past the first week here though because they’re that good!

Other variations I’ve done are adding raisins, chopped peanuts, and candy coated chocolates in place of the chocolate chips for a take on monster cookies.

XOXO,
Leah

Sushi Bake

I’ve never been one for long intros when it comes to recipe blogs, so I’m definitely not going to start now!

This sushi bake is a huge hit in our house, and we normally make it at least a few times a month.

What You’ll Need

– 1/2 pound of salmon seasoned with salt, pepper, garlic, and a little Smokey paprika, shredded

⁃ 1/2 pound of imitation crab, shredded

⁃ 4 oz cream cheese

⁃ 1/4 cup mayo (I use a Japanese brand called Kewpie), but regular mayo works too

⁃ Sriracha to taste

⁃ 2 cups of cooked white rice

⁃ Crushed seaweed

⁃ 9×9 baking dish

⁃ Cooking spray

⁃ Sesame seeds (optional)

Bake your salmon until done. I use the air fryer for about 9 minutes at 400 and season with salt, pepper, garlic, and a little smokey paprika. Remove skin and shred when finished.

Cook your rice according to package directions. I use jasmine rice (but any white rice will work) and cook it in our Instant Pot using the rice function.

Shred your imitation crab while your salmon and rice cook.

Add your shredded salmon, imitation crab, cream cheese, mayo, and sriracha to a bowl. Mix until well combined.

Spread your rice into an even layer in your greased 9×9 dish.

Add your crushed seaweed on top of the rice layer, and top with your salmon and imitation crab mixture.

Bake in the oven for about 10 minutes at 380, and finish under the broiler for about 3 minutes.

Top with more of the mayo and sriracha, and enjoy! We add sesame seeds and sometimes avocado if we have them.

xoxo,

Leah

Easy Biscuits and Gravy

This breakfast is one of my family’s favorites, especially when the temps start to drop. Not only is it so delicious but also super easy to make!

I’ll spare you the paragraphs of scrolling and jump right into how it’s made:

Ingredients

⁃ Buttermilk Biscuits (I use the frozen Pillsbury ones)

⁃ 1 lb pork sausage

⁃ 1/4 cup of flour

⁃ 2 1/2 cups milk

⁃ Salt and pepper to taste

Recipe

⁃ Bake biscuits according to package instructions

⁃ Brown sausage over medium heat until cooked through

⁃ Added flour and stir until well combined

⁃ Added milk a little at a time while stirring

⁃ Bring to a boil

⁃ Reduce the heat and simmer until gravy thickens

Enjoy!

Easy Teriyaki Turkey Bowls

It’s no secret that Kaz and I love all kinds of Asian dishes. In an effort to order/ eat out less and cook at home more, I began to play around with recipes for an easy but yummy teriyaki sauce! This is the result of countless attempts to get it just right. I normally use ground turkey, carrots, and broccoli, but the sky’s really the limit with this.

  1. What You’ll Need
    • 1 lb Ground Turkey
    • 2 Cups Broccoli
    • 2 Cups Diced Carrots
    • 1/2 Cup Low Sodium Soy Sauce
    • 1/4 Cup Water
    • 2 Tbs Red Wine Vinegar
    • 2 Tbs Brown Sugar
    • 2 Tbs Granulated Sugar
    • 2 tsp Minced Garlic
    • 1 tsp Garlic Powder
    • 1 tsp Ground Ginger
    • 1 Tbs Cornstarch
    • 2 Tbs Warm Water
    • 1 Tbs Vegetable Oil
    • Salt and Pepper to Taste
    • Diced Green Onions (Optional)
    • Sesame Seeds (Optional)

To start things off you’ll combine the soy sauce, 1/4 cup of water, red wine vinegar, brown and granulated sugars, garlic, and ginger in a small saucepan over medium heat. Stir until the sugars are dissolved.

Meanwhile, whisk together the cornstarch and 2 Tbs of warm water in a small bowl until the cornstarch is completely dissolved.

Slowly stir cornstarch mixture into the sauce over medium heat and simmer until the sauce is thickened to your desired consistency. Remove saucepan from heat and set aside.

In a large skillet, heat vegetable oil over medium-high heat. Add broccoli and carrots and cook until slightly softened. Season with the 1 tsp of garlic powder and salt and pepper to taste.

Add your ground turkey until thoroughly cooked.

Pour your teriyaki sauce over the cooked ground turkey and veggie mixture and stir to combine. Simmer for about five minutes so everything has time to soak up all the flavors until the sauce has thickened to your liking.

Serve over rice, noodles, or riced cauliflower. Green onions and sesame seeds are option for additional flavor!

XOXO,
Leah

Parmesan and Cheddar Crisps

Happy Monday, y’all!

After several weeks of computer issues, I think I’ve finally gotten it back up and running (fingers crossed)!

Especially in the summer, I love a good crunchy and salty snack to go with a nice cold drink! Popcorn, chips, pretzels, you name it!

With my love of cheese, my latest addiction has been really any kind of cheese crisp, but buying them can get a little on the pricey side. Enter this recipe I whipped up one night, and boom! An easy and way cheaper version of my most craved snack!

What You’ll Need

• 2 Cups Shredded Parmesan Cheese
• ½ Cup Shredded Mild Cheddar Cheese
• Salt and Pepper to Taste
• Parchment Paper

img_3767

You’ll want to preheat your oven to 350°.

Next you’re going to line your baking sheet with parchment paper. This will help your crisps not stick and make clean up that much easier!

In a bowl, mix the two shredded cheese s together until well combined.

img_3768

Now you’ll drop heaping tablespoons of the mixture onto the parchment paper lined baking sheet. They don’t spread out too much when in the oven, so I put four mounds in each row.

img_3769

Bake in the oven for about 15 minutes until golden brown. Season with salt and pepper right after you take them out of the oven so the seasoning sticks best!

Let sit until cool to the touch and then you’re all set to enjoy your homemade Parmesan and cheddar crisps!

img_3771

While yummy on their own, there are also tons of ways to jazz them up; turkey and avocado, in place of tortilla chips for nachos, with eggs and bacon…

What’s your go to snack right now?

XOXO,
Leah